Restore Your Home's Beauty: The Essential Brick Patch Guide
Maintaining the structural integrity and aesthetic appeal of your home often involves addressing wear and tear on its exterior. Among the most common yet critical repairs is the process of a brick patch. This technique, when executed correctly, can seamlessly blend new material with old, restoring your home's facade and protecting it from further damage. Understanding the nuances of brick repair is not just about aesthetics; it's about preserving your investment and ensuring the longevity of your property.
From minor cracks to crumbling mortar, brickwork can suffer various forms of deterioration over time due to weather, age, or even minor impacts. A well-performed brick patch is an indispensable skill for homeowners and a crucial service for professionals, preventing small issues from escalating into costly structural problems. This comprehensive guide will delve into everything you need to know about this vital home maintenance task, from identifying the need for a repair to executing a flawless patch that stands the test of time.
Table of Contents
- What is a Brick Patch?
- Why is a Brick Patch Necessary?
- Types of Brick Damage Requiring Patching
- The Art and Science of a Successful Brick Patch
- Materials for an Effective Brick Patch
- Step-by-Step Guide to Executing a Brick Patch
- When to Call a Professional for Your Brick Patch
- Maintaining Your Brickwork After a Patch
What is a Brick Patch?
A brick patch, at its core, is a targeted repair process designed to address localized damage in brickwork. Rather than undertaking a complete wall rebuild, a brick patch involves carefully removing the compromised sections of bricks and/or mortar and replacing them with new, matching materials. The goal is not just to fill a hole, but to seamlessly integrate the new work with the existing structure, both functionally and aesthetically. This meticulous process ensures the repaired area is structurally sound, weather-resistant, and visually indistinguishable from the surrounding brickwork. It’s a precision task that requires attention to detail, from selecting the right materials to employing proper techniques for cutting, cleaning, and repointing.Why is a Brick Patch Necessary?
The necessity of a brick patch extends far beyond mere cosmetic improvements. Neglecting damaged brickwork can lead to a cascade of more severe and costly problems. Firstly, compromised mortar joints or cracked bricks allow moisture to penetrate the wall system. This moisture can lead to efflorescence (white, powdery deposits), spalling (flaking or crumbling of the brick surface), and in colder climates, freeze-thaw cycles that exacerbate damage by expanding and contracting within the brick, leading to further cracking and deterioration. Over time, persistent moisture ingress can compromise the structural integrity of the wall, leading to instability and potential safety hazards. Secondly, a deteriorating brick facade significantly diminishes a property's curb appeal and market value. Buyers are often wary of homes with visible exterior damage, anticipating expensive repairs. A professional brick patch not only restores the visual appeal but also signals that the home has been well-maintained, instilling confidence in potential purchasers. Furthermore, proper repairs contribute to the energy efficiency of a home by sealing gaps that could allow drafts or heat loss. Ultimately, investing in a timely and well-executed brick patch is a proactive measure that safeguards your home's structure, preserves its value, and ensures its long-term resilience against environmental elements.Types of Brick Damage Requiring Patching
Understanding the specific type of damage is crucial for an effective brick patch. Different issues demand different approaches and levels of intervention.Minor Cracks and Spalling
Minor cracks in individual bricks or the mortar joints can appear due to settlement, temperature fluctuations, or minor impacts. While seemingly insignificant, these hairline fractures can be entry points for water, leading to more extensive damage over time. Spalling, where the face of a brick flakes or peels away, is often a result of moisture trapped within the brick freezing and expanding. For these issues, a localized brick patch involves carefully removing the damaged brick or section of mortar and replacing it, ensuring the new material matches the existing in color and texture. Early intervention here prevents the spread of moisture-related problems.Mortar Deterioration
Mortar, the binding agent between bricks, is often the first element to show signs of wear. Over decades, exposure to weather, pollutants, and even poor initial mixing can cause mortar to crumble, crack, or wash out. This deterioration, known as "repointing" when addressed comprehensively, often necessitates a brick patch in smaller, localized areas. When mortar loses its integrity, bricks can become loose, and the wall's stability is compromised. A brick patch in this context means carefully raking out the old, damaged mortar and meticulously applying new mortar, ensuring it bonds properly and matches the original joint style (e.g., concave, V-joint). This is a critical aspect of maintaining the wall's structural cohesion.Loose or Missing Bricks
This is perhaps the most obvious form of damage requiring a brick patch. Bricks can become loose due to extensive mortar deterioration, impact, or foundational shifts. Missing bricks leave gaping holes, exposing the internal structure of the wall to the elements and pests. Repairing loose or missing bricks involves carefully removing any remaining fragments, cleaning the cavity thoroughly, and then setting new bricks into a fresh bed of mortar. This type of brick patch demands precision to ensure the new bricks are perfectly aligned with the existing course, maintaining the wall's plumb and level. It's a repair that directly impacts both the structural integrity and the aesthetic continuity of the brickwork.The Art and Science of a Successful Brick Patch
A truly successful brick patch is a delicate balance of artistic finesse and scientific understanding. The "art" lies in the aesthetic matching: selecting bricks that blend seamlessly in color, texture, and size, and mixing mortar that dries to an identical hue and finish as the original. This often involves sourcing salvaged bricks or custom-matching new ones, and experimenting with different sand and cement ratios for the mortar. The goal is for the repaired area to be virtually invisible to the untrained eye, preserving the historical character or original design intent of the structure. The "science" of a brick patch, on the other hand, pertains to the technical execution and material knowledge. This includes understanding the chemical composition of various mortars (e.g., Type N, S, M, K), their appropriate applications based on structural loads and exposure, and their curing properties. It involves precise measurements for cutting bricks, proper techniques for removing old mortar without damaging adjacent bricks, and ensuring adequate hydration during the curing process to achieve optimal strength and durability. Furthermore, understanding the underlying causes of the original damage – be it poor drainage, structural movement, or material incompatibility – is crucial to prevent recurrence. A skilled practitioner of the brick patch combines this technical knowledge with an experienced eye, ensuring not just a beautiful repair, but one that is robust, long-lasting, and structurally sound, truly embodying the principles of E-E-A-T (Expertise, Authoritativeness, Trustworthiness) in masonry.Materials for an Effective Brick Patch
The success of any brick patch hinges significantly on the quality and compatibility of the materials used. Selecting the right components ensures both durability and a seamless aesthetic integration. * **Matching Bricks:** This is arguably the most challenging aspect. Bricks vary widely in color, texture, size, and porosity. For older homes, finding an exact match can be difficult, often requiring sourcing reclaimed bricks from demolition sites or specialized suppliers. For newer homes, identifying the manufacturer and model of the original brick is ideal. When an exact match is impossible, aim for the closest possible match, considering how weathering might affect the new bricks over time. Test a few samples against the existing wall in different lighting conditions. * **Mortar Type:** Mortar is not one-size-fits-all. Different types of mortar (e.g., Type N, S, M, K) are formulated with varying strengths and flexibilities, determined by their lime, cement, and sand ratios. * **Type N (Normal):** A general-purpose mortar, suitable for most non-load-bearing applications above grade. * **Type S (Strength):** Stronger than Type N, used for load-bearing walls and areas exposed to severe weather. * **Type M (Maximum Strength):** The strongest type, used for heavy load-bearing applications and below-grade work. * **Type K (Kneaded):** A very soft, high-lime mortar, often used for historic preservation to match original, weaker mortars. It's crucial to match the new mortar's strength and permeability to the existing mortar to prevent differential movement or moisture issues. Using a stronger mortar than the original can sometimes cause the softer, older bricks to crack under stress. * **Mortar Color Matching:** Just as important as strength is color. The color of mortar is primarily determined by the type and color of sand used, as well as any pigments added. Collect a sample of the existing mortar and try to match the sand color and aggregate size. Test small batches of new mortar on a scrap piece of brick or in an inconspicuous area to see how it dries. Remember that mortar color changes significantly from wet to dry. * **Tools and Equipment:** Essential tools for a brick patch include: * **Cold Chisel and Hammer:** For carefully removing old mortar and brick fragments. * **Tuckpointing Trowel:** A narrow trowel for packing new mortar into joints. * **Pointing Trowel:** For shaping and finishing mortar joints. * **Brick Hammer/Chisel:** For shaping or splitting new bricks. * **Wire Brush:** For cleaning the cavity. * **Mortar Mixer (or drill with paddle attachment):** For consistent mortar mixing. * **Safety Glasses and Gloves:** Non-negotiable for protection. * **Level and Straightedge:** For ensuring new bricks are plumb and level. * **Sponge and Bucket:** For cleaning and wetting bricks/mortar. * **Angle Grinder with Diamond Blade:** For precise cutting of old mortar joints (use with extreme caution and proper PPE). By meticulously selecting and preparing these materials, you lay the groundwork for a durable and aesthetically pleasing brick patch that seamlessly integrates with your home's existing facade.Step-by-Step Guide to Executing a Brick Patch
Performing a successful brick patch requires patience, precision, and adherence to proper techniques. This guide outlines the key steps, emphasizing safety and best practices.Preparation is Key
Thorough preparation is the bedrock of a lasting brick patch.- **Assess the Damage:** Carefully examine the extent of the damage. Identify all loose, cracked, or spalled bricks and deteriorating mortar joints. Mark the areas clearly.
- **Gather Materials and Tools:** Ensure you have all the necessary matching bricks, the correct type of mortar, sand, water, and all the tools listed previously.
- **Safety First:** Always wear appropriate personal protective equipment (PPE): safety glasses, work gloves, and a dust mask, especially when chiseling or grinding.
- **Remove Damaged Material:**
- **For Mortar:** Use a cold chisel and hammer, or an angle grinder with a diamond blade (with extreme caution and dust control), to carefully rake out the old, deteriorated mortar to a depth of at least 1 inch (2.5 cm), or until you reach sound mortar. Be careful not to chip or damage adjacent bricks.
- **For Bricks:** If a brick is cracked or spalled, carefully chisel out the surrounding mortar joints first. Then, gently tap and pry the damaged brick out. If it's firmly set, you may need to break it into smaller pieces for easier removal.
- **Clean the Cavity:** Once the old material is removed, thoroughly clean the cavity. Use a wire brush to remove all loose debris, dust, and old mortar fragments. A vacuum cleaner can also be helpful. The goal is a clean, stable surface for the new mortar to bond to.
- **Pre-wetting:** Lightly mist the old bricks and the interior of the cavity with water. This prevents the dry, existing bricks from rapidly drawing moisture out of the new mortar, which can weaken its bond and lead to cracking. Avoid oversaturating; you want damp, not dripping wet.
Mixing and Application
Precision in mixing and application is vital for the strength and appearance of your brick patch.- **Mix the Mortar:** Follow the manufacturer's instructions for your chosen mortar type. Typically, this involves mixing the dry mortar mix with water in a bucket or wheelbarrow until it reaches a consistent, workable consistency – similar to peanut butter or thick oatmeal. It should be stiff enough to hold its shape on a trowel but pliable enough to spread easily. Add water gradually to avoid making it too soupy.
- **Apply Mortar (for Bricks):** If replacing a brick, apply a bed of fresh mortar to the bottom of the cavity. Also, butter the sides and top of the new brick with mortar.
- **Set the New Brick:** Carefully insert the new brick into the cavity, ensuring it is plumb, level, and flush with the surrounding bricks. Tap it gently with the handle of your trowel or a rubber mallet to settle it into place. Scrape away any excess mortar that squeezes out.
- **Apply Mortar (for Joints/Repointing):** For mortar joint repair (repointing), load a small amount of mortar onto your tuckpointing trowel. Press the mortar firmly into the joints, working from the bottom up for vertical joints and ensuring the joint is completely filled, with no voids. Overfill slightly to allow for tooling.
Curing and Finishing
The final steps ensure the longevity and aesthetic appeal of your brick patch.- **Tooling the Joints:** Once the mortar has begun to stiffen (usually 30-60 minutes, depending on temperature and humidity), use a jointing tool (e.g., concave, V-joint) that matches the profile of your existing mortar joints. Run the tool along the new joints to compress the mortar, creating a dense, weather-resistant finish and a uniform appearance. This step is critical for preventing water penetration.
- **Clean Up Excess Mortar:** As the mortar continues to set, use a stiff brush (not a wire brush initially, as it can smear) to gently brush away any small bits of excess mortar from the brick faces. Avoid smearing wet mortar onto the bricks. For stubborn dried bits, a dilute acid wash might be necessary later, but always test in an inconspicuous area first.
- **Curing:** Mortar needs to cure properly to achieve its full strength. Keep the newly patched area damp for at least 3-7 days, especially in hot or windy conditions. Lightly misting the area with water several times a day will help prevent the mortar from drying too quickly and cracking. Protect the area from direct sunlight or heavy rain if possible.
- **Final Inspection:** After the mortar has fully cured (which can take several weeks for full strength), inspect your brick patch. It should be solid, well-bonded, and blend seamlessly with the surrounding brickwork.
When to Call a Professional for Your Brick Patch
While a small brick patch can be a rewarding DIY project, there are critical situations where calling a professional mason is not just advisable, but essential. Understanding these thresholds is crucial for your safety and the structural integrity of your home, aligning with YMYL (Your Money or Your Life) principles. * **Extensive Damage:** If more than 10-15% of a wall section requires repair, or if large areas of mortar are crumbling across multiple courses, it's beyond a simple brick patch. This indicates a systemic issue that requires a comprehensive repointing or even partial rebuild, best handled by experts. * **Structural Concerns:** Any cracks that are wider than 1/4 inch, run diagonally across a wall, or extend from the foundation to the roofline could indicate foundational settlement or structural movement. These are not cosmetic issues and require a structural engineer's assessment before any repair work. A professional mason will have the expertise to implement the engineer's recommendations safely. * **Chimney Repair:** Chimneys are complex structures exposed to extreme temperatures and weather. Damage to a chimney, especially above the roofline, can be dangerous and requires specialized knowledge of flashing, flue liners, and structural loads. This is not a DIY brick patch. * **Historical or Delicate Brickwork:** Older homes, especially those with historic designation, often feature unique brick types, mortar compositions (like lime mortar), or intricate bonding patterns. Repairing these requires specialized knowledge of preservation techniques to maintain historical accuracy and prevent irreversible damage. * **Lack of Experience or Proper Tools:** If you don't have the right tools, the physical capability, or the confidence to perform the repair safely and effectively, attempting a brick patch can lead to further damage, wasted materials, and potential injury. * **Safety Hazards:** Working at heights, dealing with unstable walls, or using power tools like angle grinders without proper training poses significant risks. Professionals are equipped with safety gear, scaffolding, and the experience to mitigate these dangers. A qualified mason possesses the expertise, specialized tools, and understanding of building codes to correctly diagnose the problem, select appropriate materials, and execute a durable, safe, and aesthetically pleasing brick patch. They can also provide warranties for their work, offering peace of mind for such critical home repairs.Maintaining Your Brickwork After a Patch
Performing a successful brick patch is a significant step, but maintaining the surrounding brickwork is equally important to ensure the longevity of your repair and prevent future issues. Proactive maintenance can save you considerable time and money in the long run. * **Regular Inspections:** Periodically walk around your home, ideally once or twice a year (spring and fall are good times), to visually inspect your brickwork. Look for new cracks, crumbling mortar, efflorescence, spalling, or any signs of moisture penetration. Pay close attention to areas prone to water exposure, such as around windows, doors, downspouts, and at the base of the foundation. Early detection of minor issues allows for quick, less invasive brick patch repairs. * **Manage Moisture:** Water is the primary enemy of brick and mortar. * **Gutters and Downspouts:** Ensure your gutters are clean and free-flowing, directing rainwater away from the foundation. Extend downspouts at least 5-10 feet away from the house. * **Grading:** Verify that the ground slopes away from your foundation, preventing water from pooling against the brickwork. * **Sprinkler Systems:** Adjust sprinklers so they don't constantly spray water directly onto your brick walls. * **Vegetation:** Keep shrubs and vines trimmed away from the brickwork, as they can trap moisture and their roots can sometimes damage foundations. * **Cleaning:** Gently clean your brickwork when necessary to remove dirt, mildew, or algae. Use a soft brush and a mild detergent solution or a specialized masonry cleaner. Avoid high-pressure washing, which can damage mortar joints and force water into the wall. Always test any cleaning solution on an inconspicuous area first. * **Sealants (with Caution):** While some homeowners consider applying a clear, breathable masonry sealant, this should be done with extreme caution. Not all sealants are suitable for all types of brick and mortar, and some can trap moisture inside the wall, leading to more severe spalling. Consult with a masonry professional before applying any sealant. If recommended, ensure it's a breathable, vapor-permeable product. * **Address Underlying Issues:** If your brick patch was a result of a larger issue (e.g., persistent moisture, foundation settlement), ensure that the root cause has been addressed. A brick patch is a repair, not a cure for systemic problems. Continuing to monitor and mitigate these underlying issues will protect your brickwork for years to come. By integrating these maintenance practices into your home care routine, you not only extend the life of your brick patch but also preserve the overall health and beauty of your home's exterior, safeguarding your investment for decades.Conclusion
The art and science of a brick patch are fundamental to maintaining the beauty, structural integrity, and value of any home with brickwork. From understanding the various types of damage to meticulously selecting materials and executing each step with precision, a well-performed brick patch is more than just a repair; it's an investment in your property's longevity. We've explored why timely intervention is crucial, the specific materials needed for a seamless match, and a detailed, step-by-step guide to help you tackle these repairs. Remember, while smaller repairs can be a rewarding DIY project, knowing when to call a professional mason is paramount for complex issues, structural concerns, or if you lack the necessary expertise and tools. Proactive maintenance, including regular inspections and moisture management, will ensure your brick patch endures and your home's facade remains robust and appealing for years to come. Do you have a brick patch project in mind, or perhaps a question about a specific type of brick damage? Share your experiences or queries in the comments below! Your insights could help others embarking on their own home repair journeys. For more detailed guides on home maintenance and renovation, be sure to explore other articles on our site.- South County Mall
- Bob Johnson Toyota
- Garden Spider
- Henna Chevrolet
- House Republicans Block Democratic Effort To Release Gaetz Ethics Report
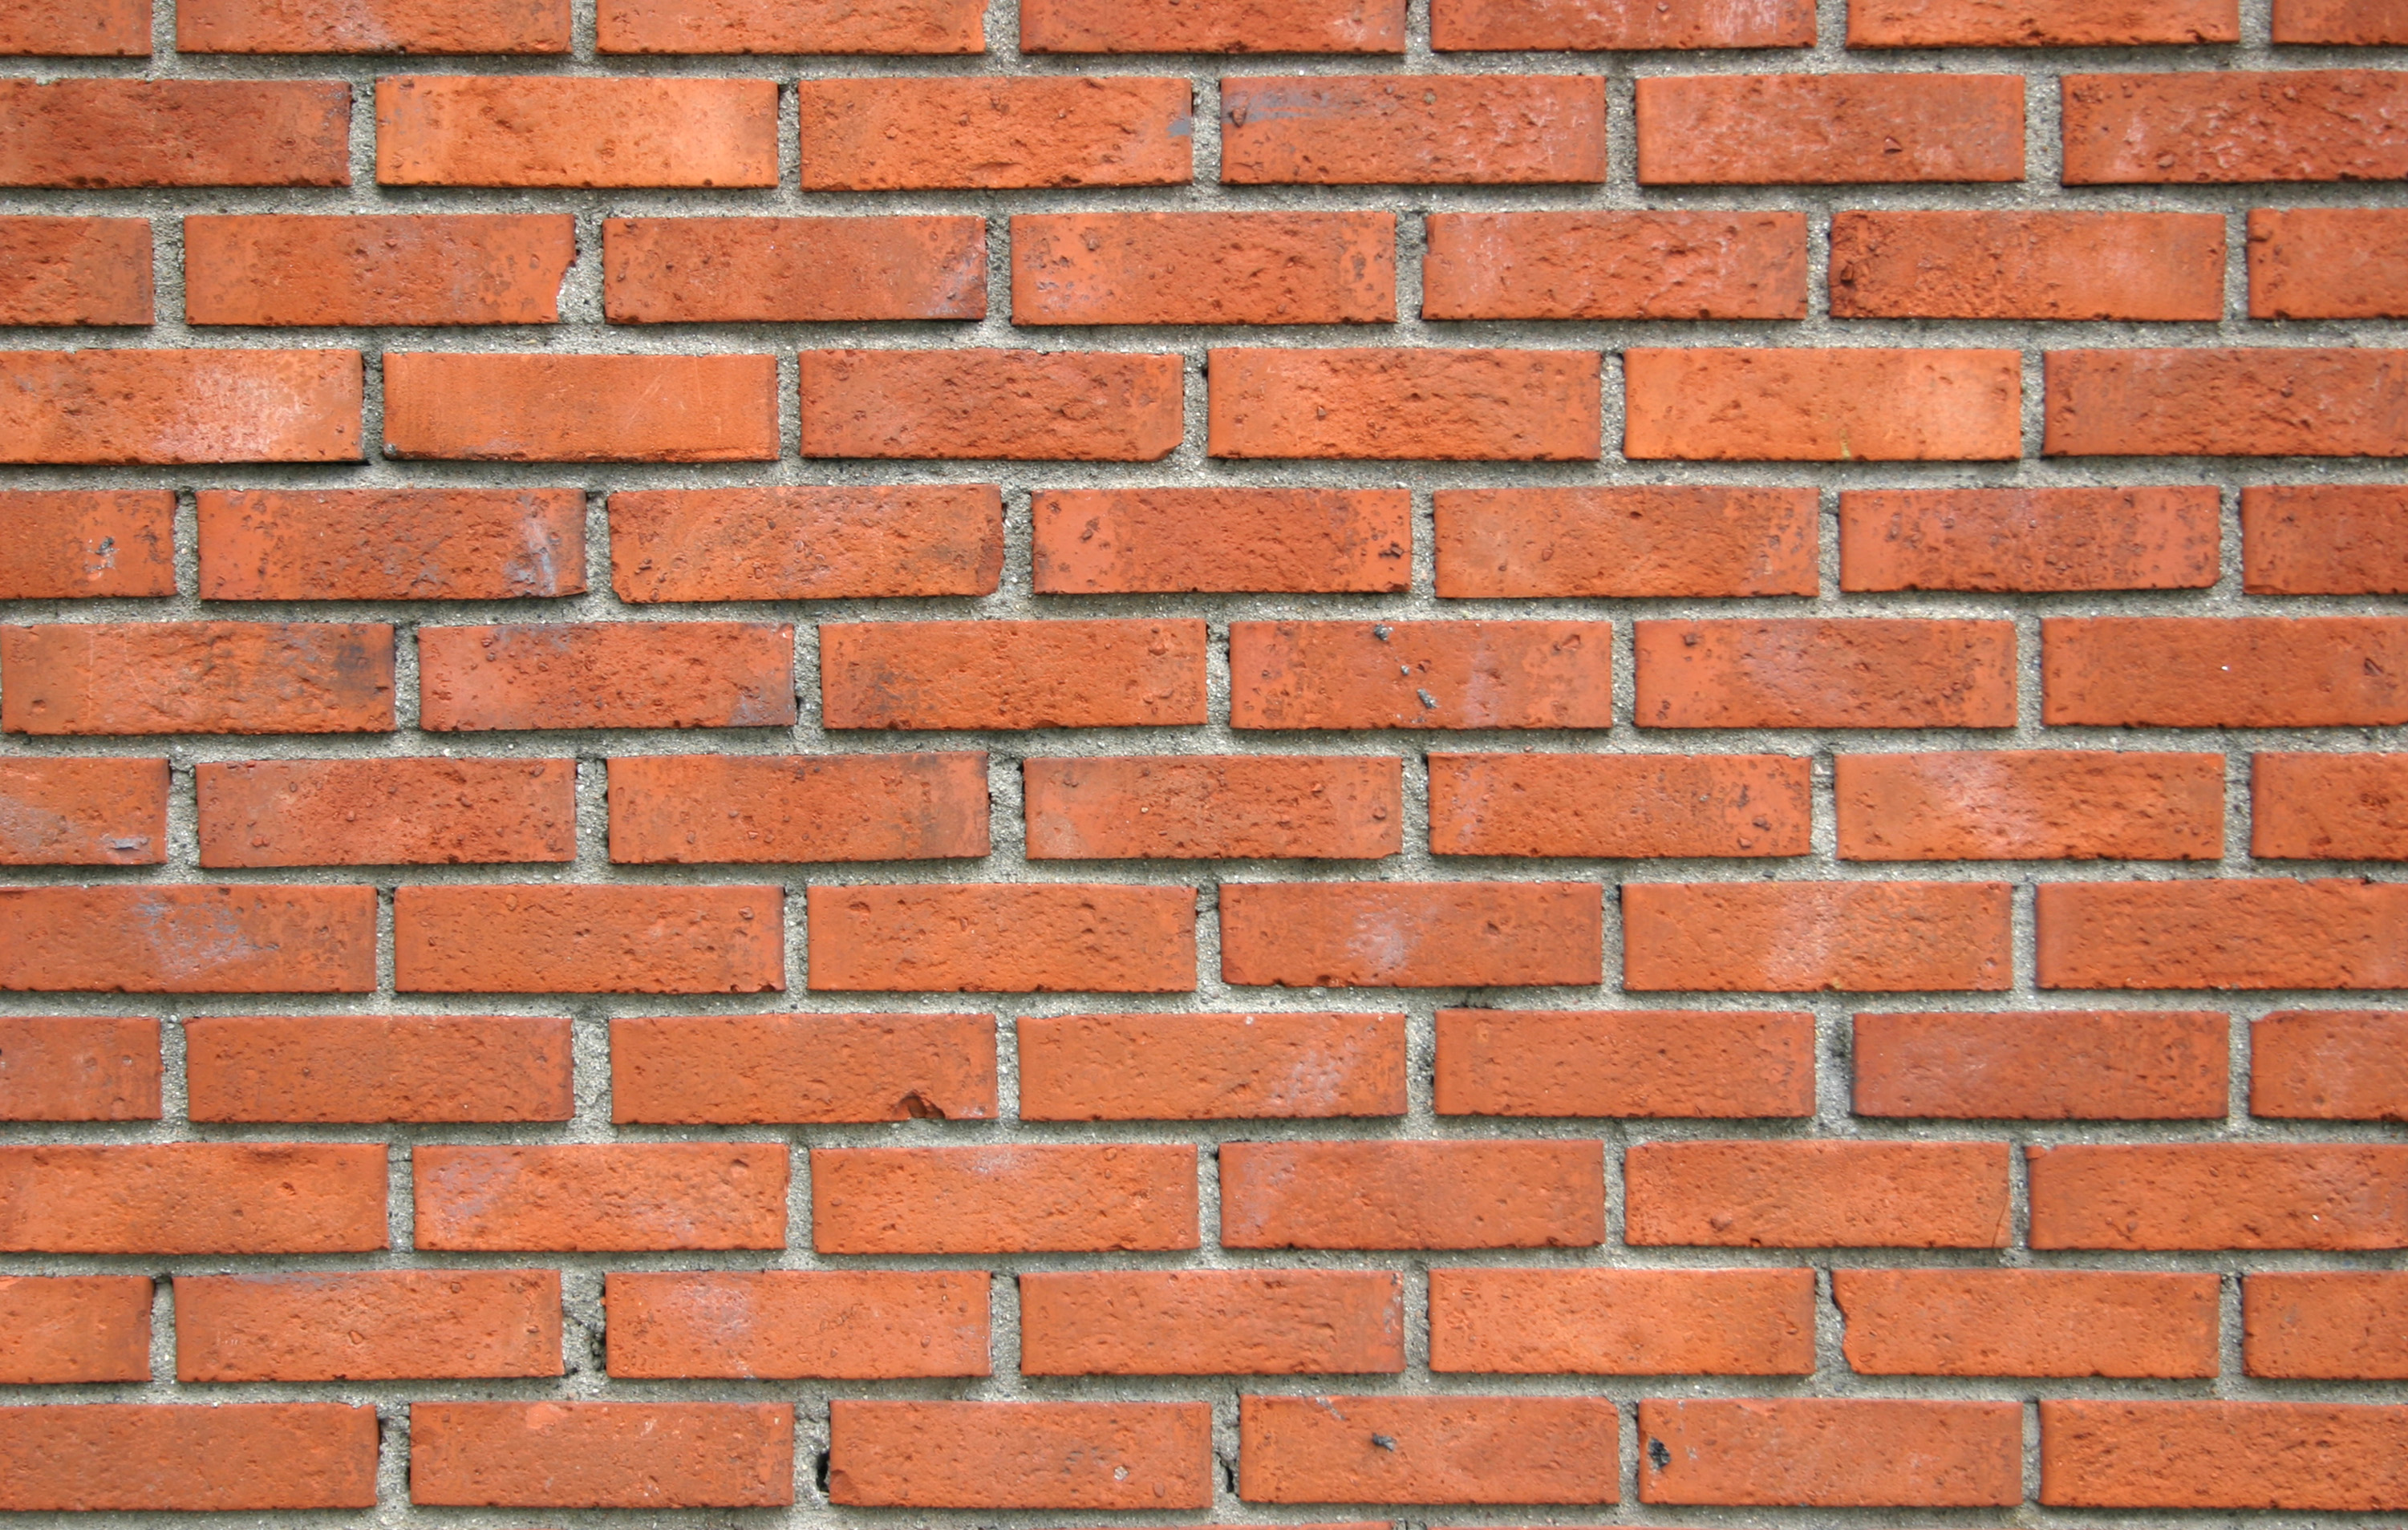
brick wall, brick wall, Texture brick wall, bricks, bricks texture

Brick, Classification of bricks and properties of good bricks.
Old brick wall texture vector background. closeup brick wall surface
